Field guide / Natural light
Read the Shade
Brightness tells you how much light there is. Direction tells you what that light will do. Learn the difference in one short walk around your garden.
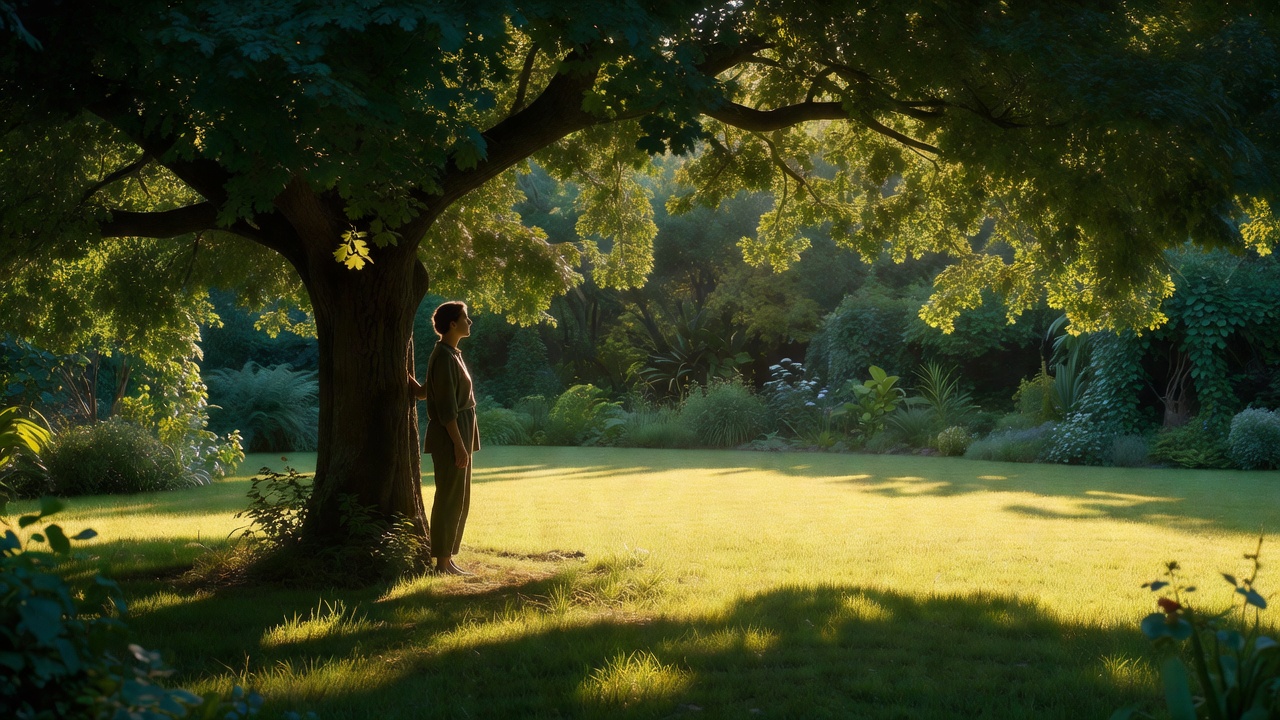
Start with a slow lap
Before choosing settings, walk around your subject's possible position. Look at eye sockets, the underside of the chin, and the shadow beneath a leaf. These show where the light comes from more clearly than a bright patch of grass does. A yard that looks evenly lit to your eyes may contain several very different photographic situations.
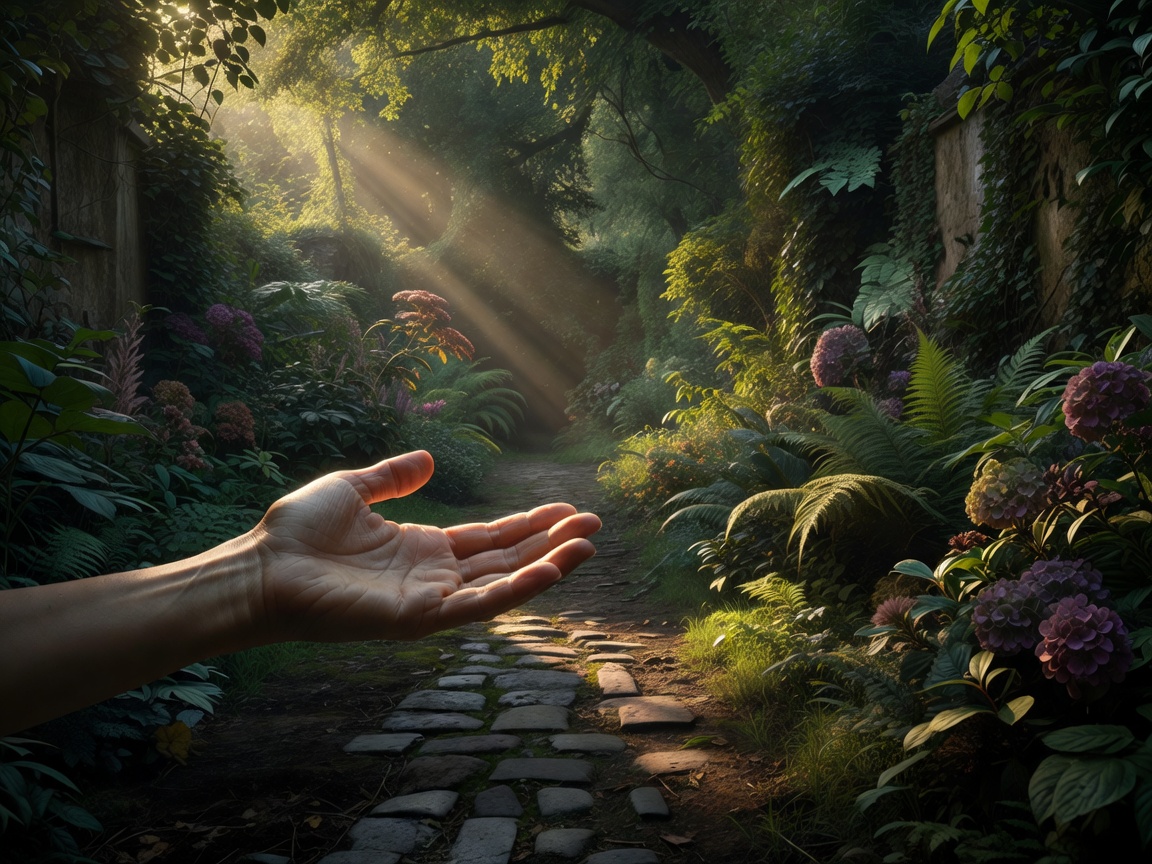
Hold out your hand and rotate it. Notice when the skin looks rounded, when it becomes flat, and when sunlight creates a sharp boundary. This simple test helps you choose a direction without asking someone to stand patiently through every experiment. Repeat it when a cloud moves or the sun drops behind the house.
Find shade with an opening
Not all shade is soft, useful portrait light. Deep beneath a dense tree, light may arrive mainly from green leaves and grass. Faces can become dim and pick up a green cast. Near the edge of that shade, a larger area of open sky becomes visible. Ask your subject to face that opening, then turn slightly until one cheek is gently darker than the other.
Keep direct sun off the face if you want an even result. Small sun patches on a forehead or nose are often much brighter than the surrounding skin. Moving half a step can solve the problem more convincingly than later highlight recovery. Also check the background: a brilliant gap between leaves may attract more attention than the expression.
Let backlight describe an edge
With the sun behind a subject, hair and translucent petals can acquire a bright outline. Put a darker hedge or shaded fence behind that outline so the separation is visible. Shield the lens with its hood or your hand, keeping your hand outside the frame. Light striking the front glass can reduce contrast and introduce flare.
Expose for the part of the picture that matters. For a portrait, that is usually the face, while accepting that tiny sun glints may remain bright. For a translucent flower, protect the luminous petal texture. If the scene exceeds what your camera can record, change the angle or wait for softer light rather than expecting one file to contain everything.
Choose the light first. Use exposure settings to support that choice.
Compare the light, not the equipment
| Situation | What it gives you | What to watch |
|---|---|---|
| Open shade | Gentle transitions and comfortable expressions | Green reflections and bright background gaps |
| Low direct sun | Long shadows and strong direction | Squinting, flare, and rapidly changing brightness |
| Overcast sky | Broad, relatively consistent illumination | A flat result if every surface receives similar light |
Give exposure a clear priority
Choose a shutter speed that handles the movement you see. Around 1/250 second can be a starting point for a fairly still adult, but moving children and windblown flowers may need substantially faster speeds. These are starting points, not guarantees. Magnification, camera movement, and the subject's direction all affect sharpness. Review an enlarged frame rather than trusting the small preview.
Next choose an aperture for the depth you need. A portrait at f/4 may separate a background while retaining more facial detail than a very wide aperture; a flower close-up may still have little depth at f/8. Let ISO rise when necessary to preserve the shutter speed. A slightly noisy, sharp expression is often more useful than a clean file softened by movement.
Use the histogram as a warning
A histogram shows the distribution of recorded tones, not whether the photograph is emotionally successful. A bright garden scene may naturally lean right. What deserves attention is important highlight detail piling up at the edge. Your camera's highlight warning can help identify the affected areas, although the preview is based on its rendered image rather than a direct view of all raw data.
White flowers and shiny leaves deserve a separate check. Reduce exposure a little if their detail disappears, then review the face or main subject again. Avoid making everything excessively dark to save a tiny, irrelevant reflection. The point is a deliberate compromise, not a perfectly centered graph.
Repeat a small light study
Choose one chair beside a flower bed and photograph it in morning shade, midday light, and late afternoon. Keep your camera position approximately consistent. Write down the time, weather, shadow direction, and what you changed. You will soon have a practical map of your own yard rather than a general rule borrowed from someone else's climate.
Sun position varies with season and latitude, and daylight-saving time changes what a clock time means. Apps can help predict direction, but observation remains the final check. Once you know where dependable light appears, use the portrait guide to give that light a person and a place.