Field guide / Details and returning views
Petals Across the Seasons
A small subject rewards a precise decision. A familiar viewpoint rewards a return visit. Together, they make a garden project that can last beyond one good afternoon.
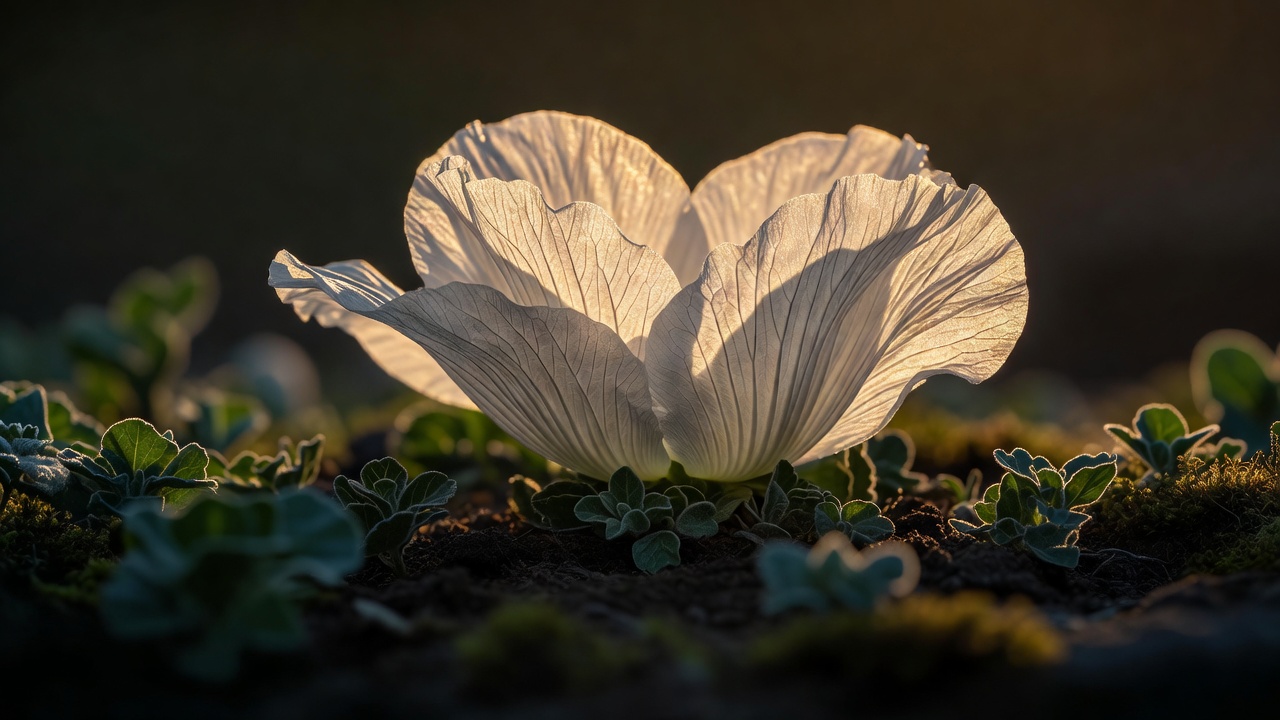
Choose one reason to come closer
Before moving the camera toward a flower, say what interests you. It might be a curled edge, the spacing of stamens, a droplet, or the contrast between a fresh petal and a fading one. This gives focus a purpose. Without that decision, it is easy to make a very close photograph that contains plenty of detail but no clear subject.
Look behind the flower before you look through the camera. A bright stone or pale plant label can dominate a soft background. Shift a few centimeters sideways or lower your viewpoint until the shapes settle. Avoid bending stems into an unnatural position just to simplify the frame; your position is usually the more flexible part of the scene.
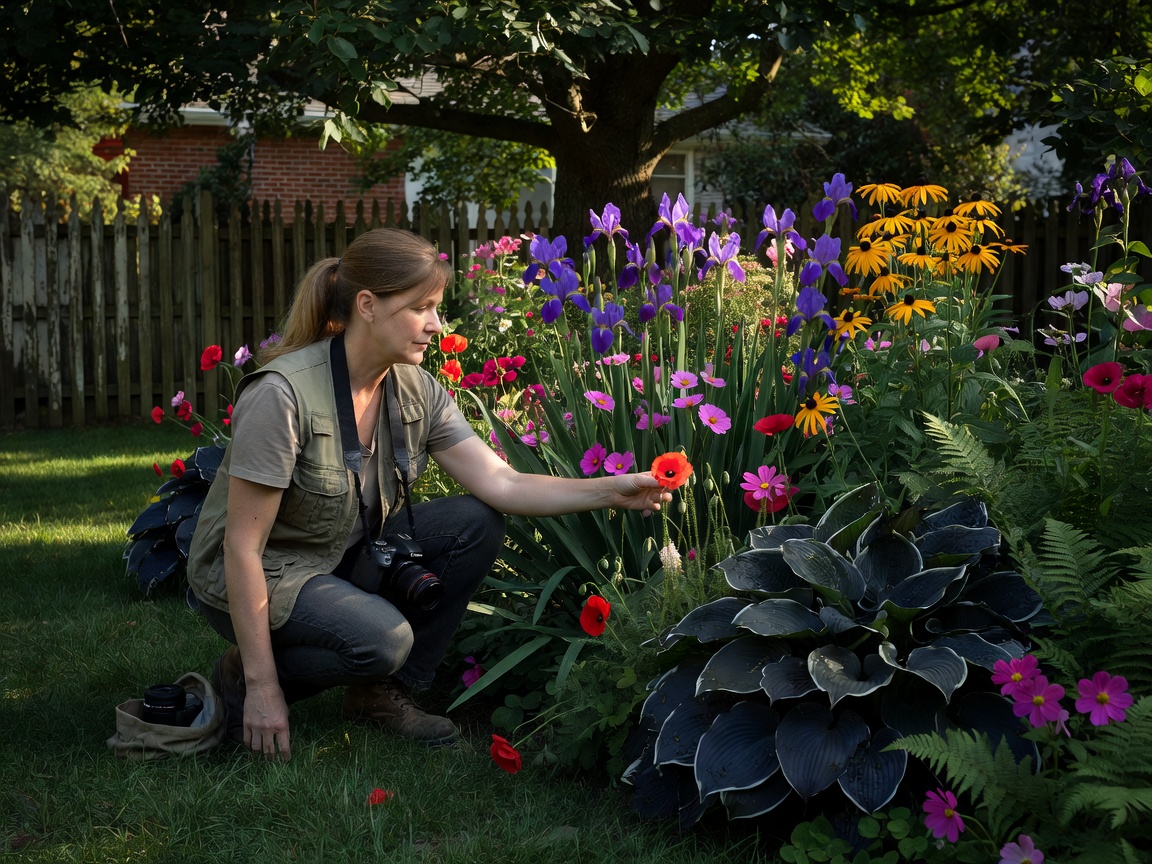
Work within your camera's close-focus limit
If a lens will not focus, moving still closer will not help. Step back until detail becomes sharp, then consider a modest crop. On a phone, watch for an automatic switch to a different camera: it can change perspective, image quality, and color. Compare the result rather than assuming a macro label always produces the strongest photograph.
With an interchangeable-lens camera, a dedicated macro lens can be useful, but the fundamentals remain the same. At close distances, depth of field becomes shallow. Align the camera more nearly parallel to the important surface when you want several details sharp. Stopping down helps, but very small apertures can reduce fine detail through diffraction and demand slower shutter speeds.
Treat wind as part of the exposure
A tripod steadies the camera, not a moving flower. Watch the rhythm of a stem and release the shutter during a lull, or raise shutter speed to freeze the movement you actually see. A short burst can improve your chances, but review it closely. Focus that lands correctly on one frame may miss on the next as the flower sways.
When working at high magnification, manual focus combined with a tiny change in camera position can be practical. Continuous autofocus may be better for a flower that will not stay still. Try both methods instead of treating either as a rule. Never secure a stem in a way that damages the plant or traps an insect.
Let backlight reveal, not erase
Thin petals can transmit light beautifully, but pale areas may clip before the rest of the picture looks bright. Check the petal surface rather than only the overall preview. Reduce exposure when meaningful texture disappears, and try another angle if the contrast is too large. Slight side-backlight can reveal veins while being easier to manage than shooting directly toward the sun.
A piece of plain white card can gently return light to the shaded side, provided it is outside the frame and does not disturb the plant. Keep it subtle. The goal is to describe a real structure, not make every surface equally bright. Be cautious around bees, avoid blocking their route, and leave nests and protected plants undisturbed.
Keep one viewpoint. Let the season make the changes.
Build a returning-view project
Choose a garden corner you can photograph without moving heavy furniture or standing in a planting bed. Note your position relative to a fixed feature, your camera height, and an approximate focal length. A simple sketch is enough. Make a reference image that includes the path or fence so you can recover the framing later.
Return when the garden changes rather than only on a rigid calendar. Buds, full growth, seed heads, frost, and fallen leaves tell different stories. If your climate has wet and dry seasons rather than four distinct temperate seasons, follow those changes. The project belongs to your actual place, not to a standard seasonal checklist.
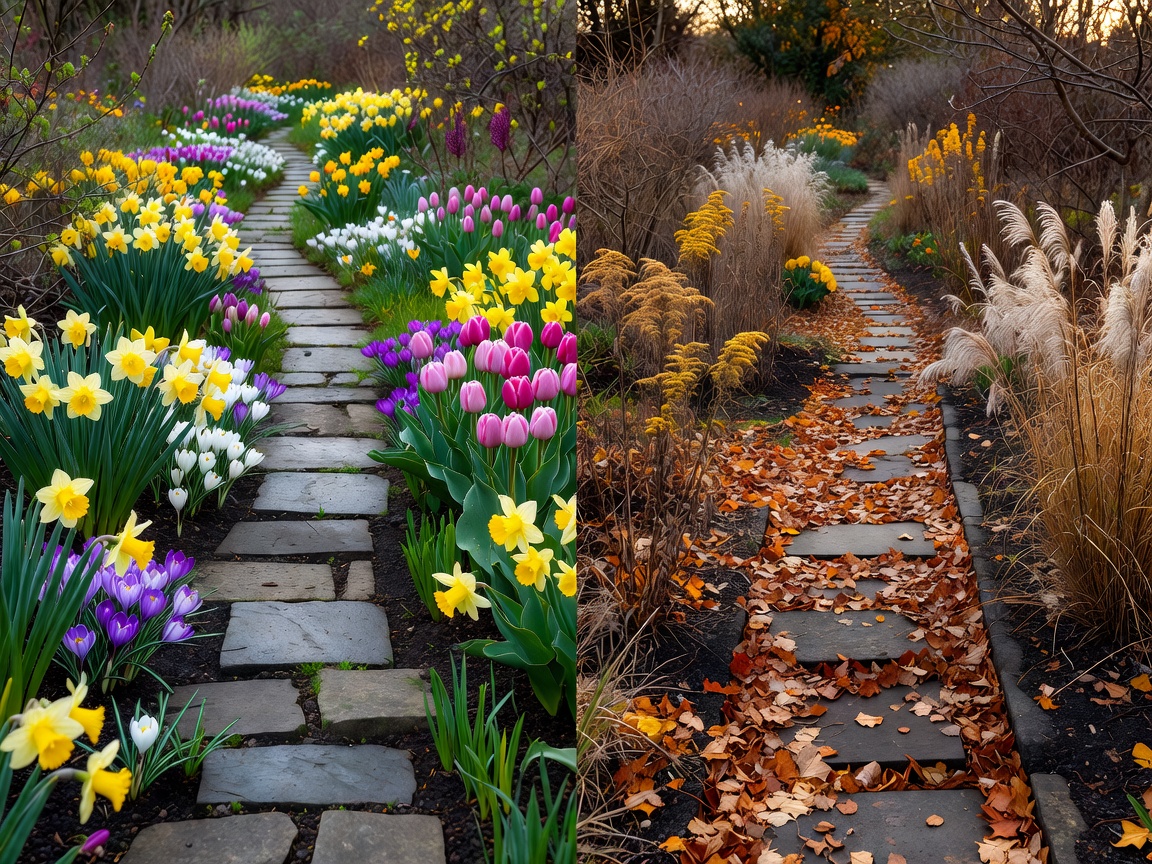
Pair a wide view with a small discovery
For each visit, make one wider photograph and one close study. The wide frame records the arrangement of the yard; the detail explains what drew you back. A fading rose, wet leaf, or frost-lined seed head can carry a seasonal feeling without needing a sweeping view. Keep short notes on weather and what changed since the previous visit.
When editing the series, avoid forcing every image to have identical color. A cold morning and a warm evening should not necessarily match. Aim for consistent handling of contrast and saturation while allowing the weather to remain visible. The editing guide offers a practical order for those decisions.
Make the final selection tell a story
Choose photographs that differ meaningfully rather than keeping every attractive bloom. A strong small series might move from a bare border to new growth, a full planting, and the structure left after flowering. Include quieter transitions if they explain the garden more honestly. Perfection is less interesting than a clear relationship between images.
Review the pictures together at a modest size. Ask whether each one adds information, whether repeated compositions feel intentional, and whether the close studies connect to the place. Then make a small album or contact sheet. The reward is not simply a collection of flowers; it is evidence that you have learned to notice your own ground.